Our front door has needed a facelift for some time. As many of you out there, we are still struggling through the transition from brass hardware to satin nickel. The other struggle our door has endured is having two holes where the former owners had their custom door knocker. For two years, I have struggled to find a door knocker that would fit the two predrilled holes, and for two years, I have failed at every attempt until now...... See the sad holes..... Since winter is fast approaching, I wanted to get these holes filled.....

While browsing through Restoration Hardware's catalog, I found this beauty: The Ring Door Knocker. What I loved about this door knocker is that the top and bottom part of the door knocker is two pieces. This rocked my world because I had been struggling to find a door knocker that would fit my custom predrilled holes. I had to have it on the spot.... At $50, I thought it was reasonable enough for a door knocker. Of course, I went to purchase it at the store to find out it was not available in the store, but luckily I was able to order it and avoid shipping charges.... Yeah, but had to wait for a week for it's arrival... Boo!
It took no time to get up. I did have to widen the predrilled holes a little more to get my hardware to sink into the door, but after about 15 minutes, the door knocker was up. See below......
Once I got the new door knocker, I new it was time to update the brass lock and kickplate. I had been contemplating this for two years as well, but I wanted to keep my finish options open just in case the perfect door knocker fell into my lap (a girl can hope).

For awhile I have been really interested in upgrading our lock system to a keyless entry option. With the new baby on the way, we will have a lot of guests coming in, and since most of our guests will be coming from out of state, there is always the chance they arrive when we are caught at an errand or something. A keypad entry therefore would be ideal for us. I did a bit of research, and decided to move forward with a Schlage keypad deadbolt. I liked the flexibility this offered to us. You can program the lock to hold 19 codes (not sure why you would want that many), but the more attractive option is that you can delete the codes very easily. Therefore, no need to leave house keys for guests or contractors outside of your home. Just give them a code, and delete it once their visit is complete. The programming seemed to be easy enough, and the lock runs off a battery that supposedly will last for three years (we will see) so no reason to worry about the door not opening during an electricity outage. There is also the back-up key option that can be used if the battery dies......

Therefore, I moved forward with purchasing the keypad deadbolt. What I found once I reached the store is that the keypad deadbolt is sold separately, and you need to buy the bottom half handset to go with the deadbolt. At Lowe's the customer needs to purchase the bottom half handset without a deadbolt by special order. The interesting part about this option is that the bottom half handset that is sold separate (without a deadbolt) cost more special order from Lowe's than the whole front door handle set (which leaves you with an extra deadbolt). I probably could have shopped around online and found a deal, but I am impatient, and just wanted to get this project complete. Therefore, I went ahead and bought the keypad deadbolt, and the whole front door handle set.
The guy at Lowe's told me installation would be easy, but I decided to have a handyman come over and install it for me (worry-free). Since I am 39 weeks pregnant, I could go into labor at any time so it is really important that my front door be able to lock at a moments notice.... Therefore, I just wasn't comfortable with the stress of possibly screwing up this project, and then having to try to put the old lock back on....... I am sure I could do it, but I had him help me with another project I will share in my next post.... It took the handyman about 45 minutes to install, and he said everything installed very easily..... :)
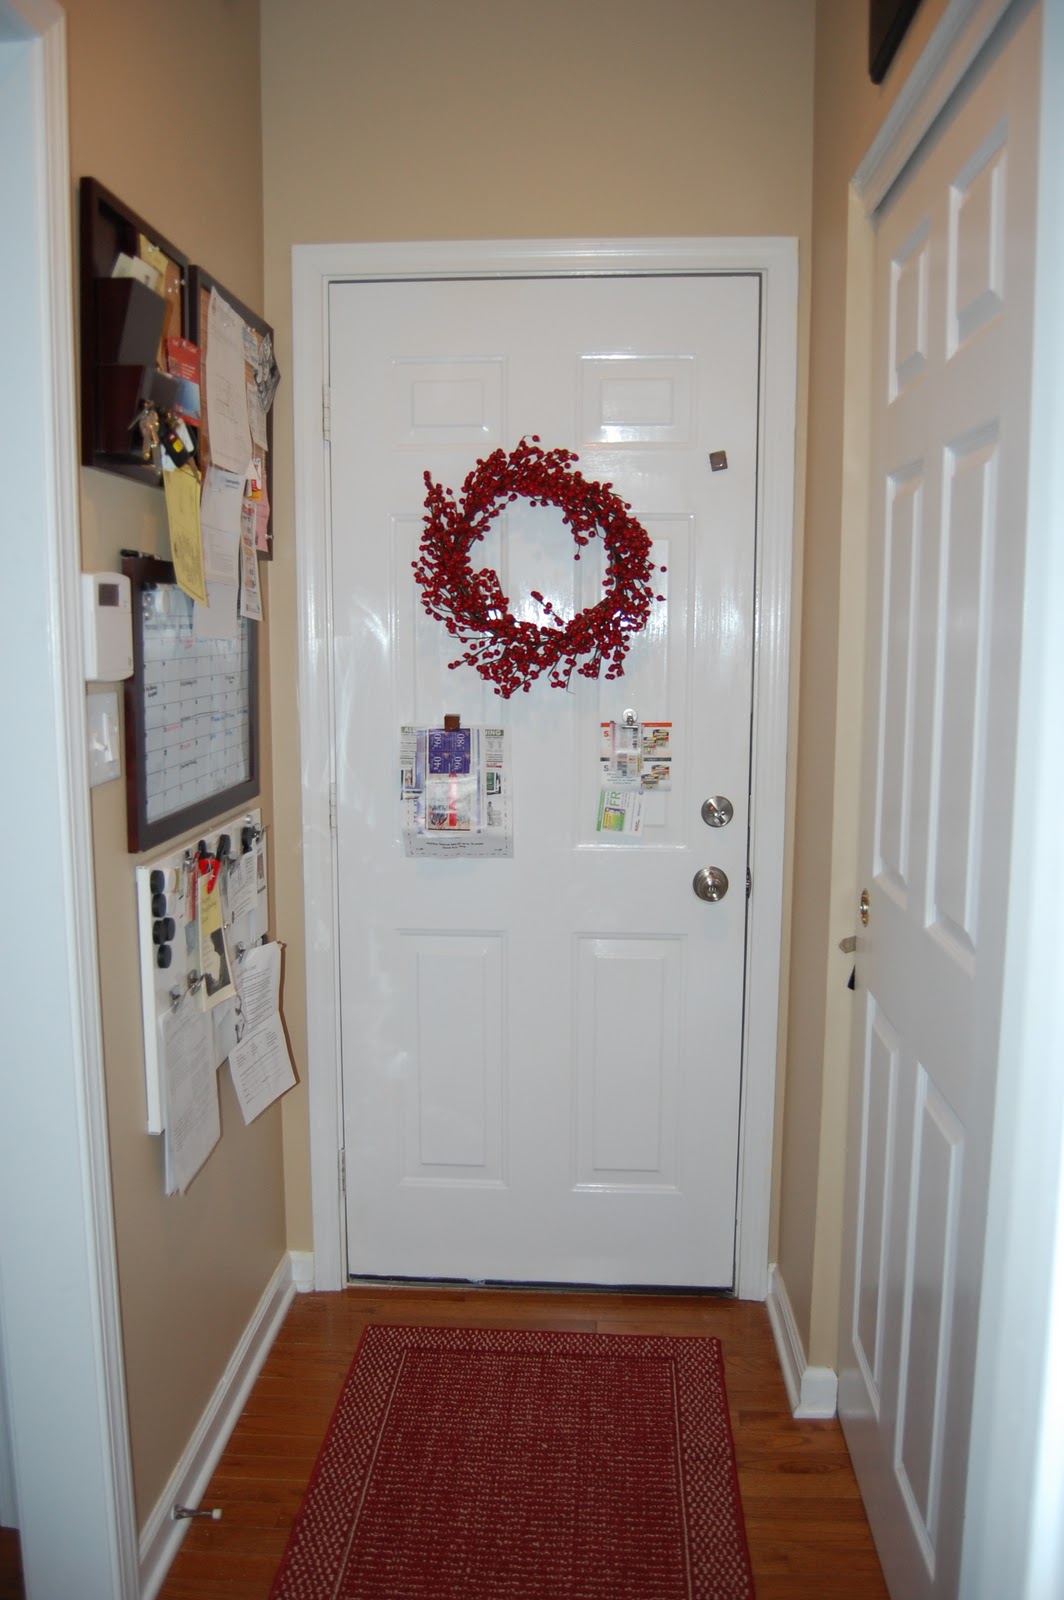
So without further adieu, here is our brand new door with it's new door knocker, lock, and kickplate.....
Lock and handle set up close
Keypad even closer
Close-up of Door Knocker with Winter Wreath
I am just tickled with the transformation. It just took me over 2 years to get the right items to get it done. Of course, I still need to get a new wreath hanger because I did not realize until I looked at my picture that it is still brass (shame on me)...... In the spring, I would like to give the door a new coat of paint too, but that can wait until after the baby.....
As far as the keypad goes, it took me less than 5 minutes to remove the two factory codes, and replace it with two individual codes my husband and I picked. I love the flexibility this will offer us, and can't wait to use it.
Linking up to......